How to use GatsbyImageData in MDX body
I had trouble getting to use all that gatsby-plugin-sharp has to offer when it comes to images within the body of my posts. The idea here is to show all that I do. I can't affirm that it is the best solution, but it works. The code of this post can be found in this repository. I'll start a project from scratch to create a small function example, like always, using a remote interpreter. I spoke about this in my blog in another post: Remote interpreter. A new word for develops
Once everything is done, let's install the plugins:
docker compose run --rm app npm --prefix ./image-mdxbody install --save gatsby-plugin-image gatsby-plugin-sharp gatsby-source-filesystem gatsby-transformer-sharp
docker compose run --rm app npm --prefix ./image-mdxbody install --save gatsby-plugin-mdx gatsby-source-filesystem @mdx-js/react
docker compose run --rm app npm --prefix ./image-mdxbody install --save gatsby-remark-images
Your package.json is as follows:
"dependencies": {
    "@mdx-js/react": "^2.2.1",
    "gatsby": "^5.3.3",
    "gatsby-plugin-image": "^3.3.2",
    "gatsby-plugin-mdx": "^5.3.1",
    "gatsby-plugin-sharp": "^5.3.2",
    "gatsby-remark-images": "^7.3.1",
    "gatsby-source-filesystem": "^5.3.1",
    "gatsby-transformer-sharp": "^5.3.1",
    "react": "^18.2.0",
    "react-dom": "^18.2.0"
  }
We need to configure the plugins. It will look like this:
"plugins": [
    "gatsby-transformer-sharp",
    "gatsby-plugin-image",
    "gatsby-plugin-sharp",
    {
      "resolve": "gatsby-plugin-mdx",
      "options": {
        "gatsbyRemarkPlugins": [
          {
            "resolve": "gatsby-remark-images",
            "options": {
              "maxWidth": 1200,
            },
          },
        ],
      },
    },
  ],
The post doesn't have an object to configure the MDX, so I'll jump to the part where we need to render the MDX on the screen.
Once the MDX is rendered on the screen, you can use the img html tag on the body, but with this, you don't have all benefits of the image process.
To make the most of the benefits that Gatsby can offer, we will need to create the following component:
import React from 'react';
import { GatsbyImage } from "gatsby-plugin-image";

const MDXImageBody = (props) => {
    console.log(props);
    const image = props.img.mdx.frontmatter.embeddedImagesLocal[props.index].childImageSharp.gatsbyImageData;
    return <GatsbyImage image={image} alt={props.alt}/>

}
export default MDXImageBody;
Now we can use the component in the MDX body:
---
title: Render image in Body
slug: render-image-in-body
embeddedImagesLocal:
  - typeface.jpg
---

import MDXImageBody from "../src/components/MDXImageBody";

# {props.pageContext.frontmatter.title}
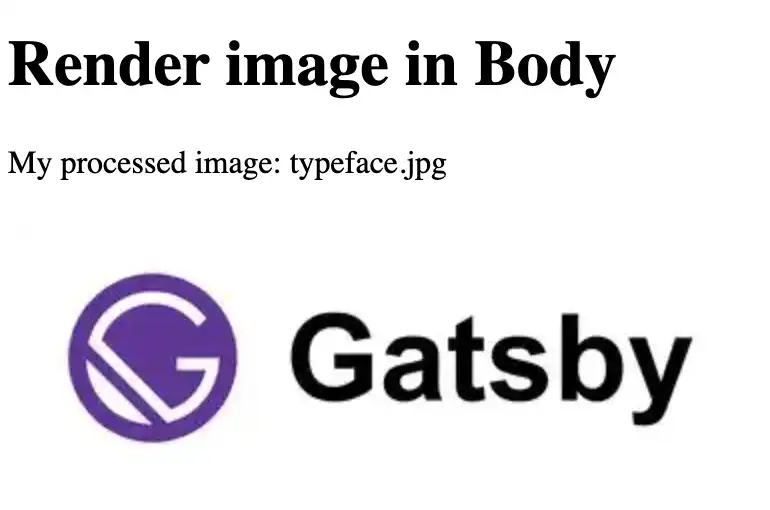
My processed image: {props.pageContext.frontmatter.embeddedImagesLocal}

<MDXImageBody img={props.data} index={0} alt={"A new project windows of WebStorm"}/>
The image typeface.jpg is in the same directory that the MDX file is.
When you open your post, the Image in the post will be a webp image.


I hope I can help someone else who has the same difficulty… This is BackEnd life venturing into a FrontEnd
January 06, 2023
Background image credits forShahadat Rahman